
Greetings, avid reader! Allow me to introduce you to the delightful world of ThingLink. Where the only limit is your own imagination! If you’re looking to add a touch of finesse to your images and videos, look no further than the humble tag. These interactive buttons bring your multimedia content to life and they’re the secret ingredient of ThingLink. In this blog post, I’ll give you a quick rundown of ThingLink in the form of a video.
BTW we used ThingLink for our very first project. You can read about it in our blog entry called Message from the future.
First of all, let’s define what ThingLink is. Simply put, ThingLink is an online platform that allows you to add interactive tags to your images and videos. These tags can include text, images, audio, and video, making your multimedia content much more engaging and interactive. Whether you’re a teacher, a student, or simply someone looking to add a touch of sophistication to your social media posts, ThingLink is the tool for you. Check out the following Miro board where I have put together a very simply yet effective sequence of slides to highlight what ThinLink is.
Now, why is this relevant for our context which is higher education and Edtech and at the end of the day the learners? Well, for one, it is a very intuitive tool and it gives students control over their own learning journey. No more dull lectures or tedious presentations. With ThingLink, students can interact with the material in multiple ways, truly grasping and internalising the information. And let’s be honest, who doesn’t love a bit of control? According to Yarbrough (2019) “more visuals are not only learner preferred, training and educational professionals have identified that visuals support efficient teaching.”
A ThingLink can be considered a version of an infographic. There are ample studies supporting the claim that infographics are very powerful tools. What makes infographics and in an extended way ThingLink too, so useful? Visuals tend to stick in long-term memory, they transmit messages faster and improve comprehension to name a few (Shiftlearning).
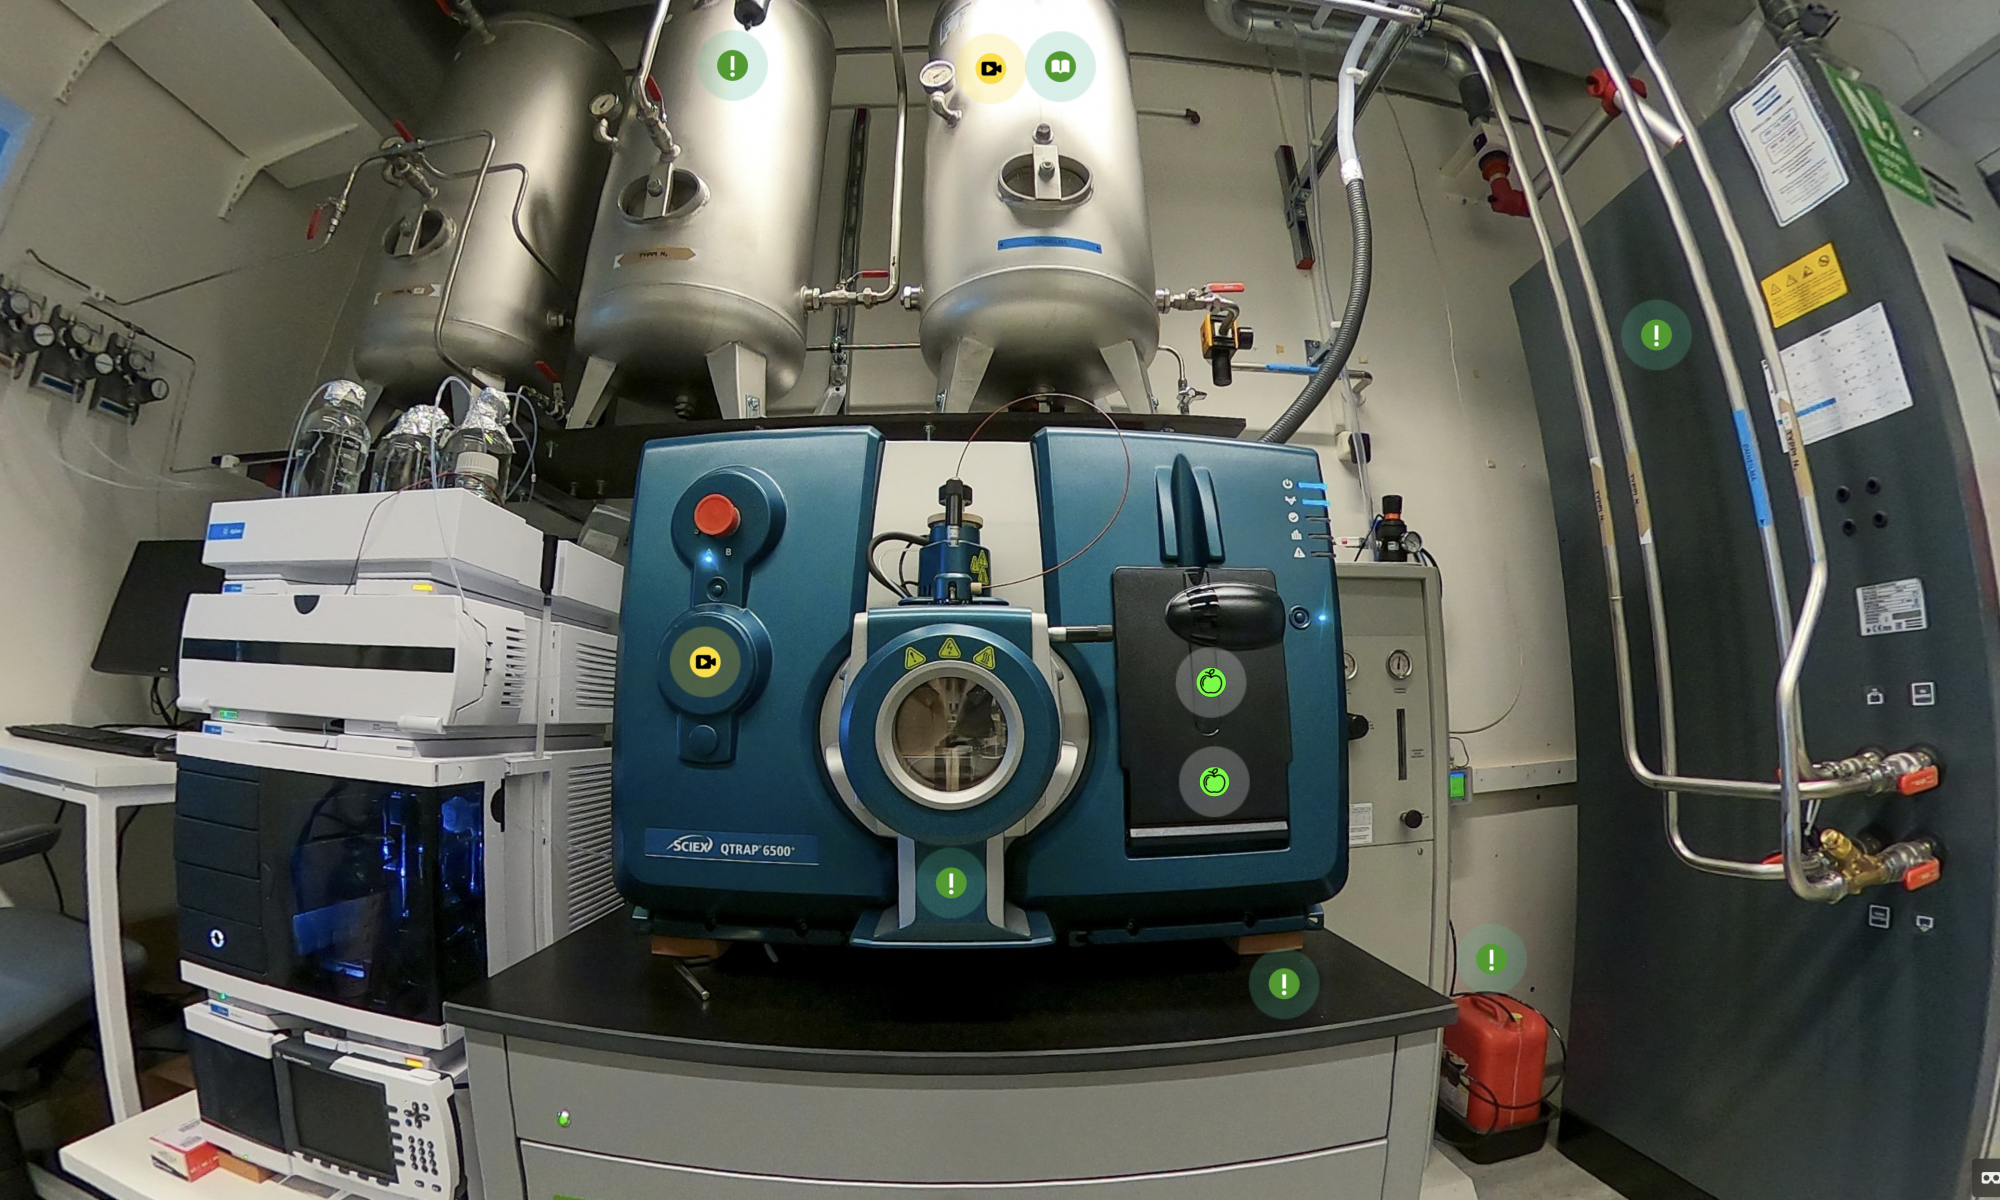
Here is a roughly 7 min video walking you through all the tags and how to create them. In Edit mode tags can can be dragged around the base image – you can even pull a line from under a tag and anchor it to a specific point.
In a next tutorial blog post with video we’ll have a look the settings and dive into the immersive world of 360° images and videos in ThingLink.
In conclusion, ThingLink is the tool you didn’t know you needed. With its interactive tags and multimedia-rich approach, ThingLink empowers students to take charge of their studies and reach their full potential. So what are you waiting for? Give it a go and see the magic unfold!
BTW when storyboarding the video I had a clear vision of how to implement text to speech (TTS) with an AI voice – little did I know how NOT easy this was Stay tuned as at some point I will write a how to post about the process of producing the above video.
Source:
Yarbrough, J. R. (2019). Infographics: In support of online visual learning. Academy of Educational Leadership Journal, 23(2), 1–15.
Shiftlearning. Blog post: Studies confirm the Power of Visuals in eLearning.