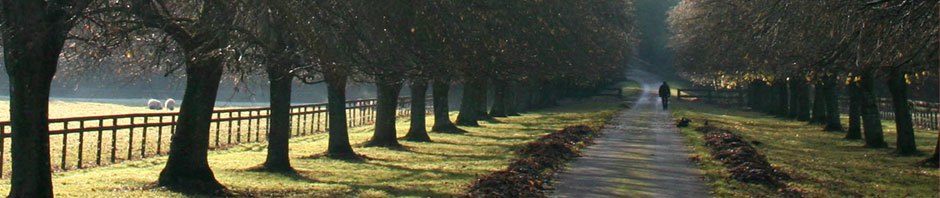
It is easy to become frustrated with the automatic layout of LaTeX when preparing talks using the beamer package. Namely, LaTeX places images in an often unpredictable way, and sometimes it would be important to keep two images on consecutive slides precisely overlapping.
However, you can now forget all such worries. Here is a trick for taking total control of your slide contents.
The trick is based on the cunning use of LaTeX’s picture environment. Every slide becomes a big picture, inside which you can place formulas, text, images or videos as you wish using coordinates.
Let’s look at an example slide containing a title, an image and a text box. The image file is a modified version of the one created in https://blogs.helsinki.fi/smsiltan/?p=107
\documentclass[graphics]{beamer}
\begin{document}
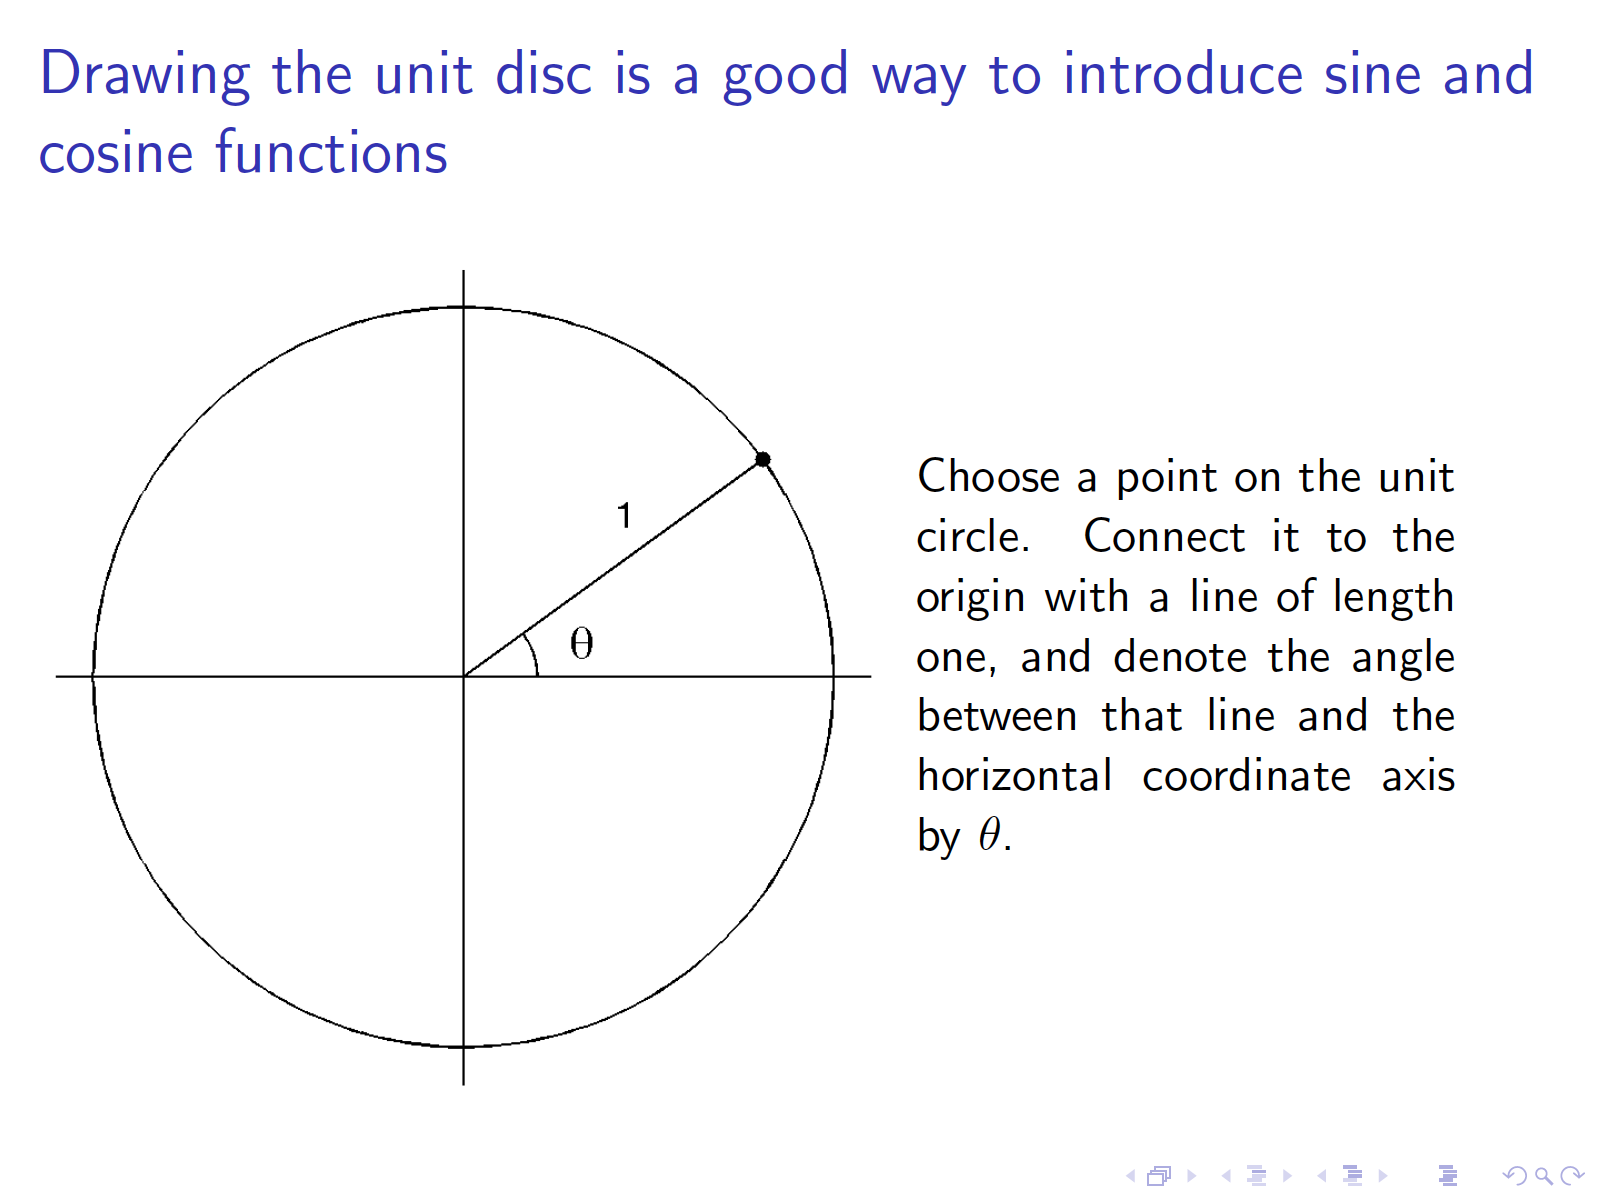
\begin{frame}{Drawing the unit disc is a good way to introduce sine and cosine functions}
\begin{picture}(320,250)
\put(-80,20){\includegraphics[height=8cm]{sincos2.png}}
\put(180,180){\begin{minipage}[t]{0.4\linewidth}
{Choose a point on the unit circle. Connect it to the origin with a line of length one, and denote the angle between that line and the horizontal coordinate axis by $\theta$.}
\end{minipage}}
\end{picture}
\end{frame}
\end{document}
Here is the resulting slide:

Now we want two consecutive slides with some new structure building into the image above.
\documentclass[graphics]{beamer}
\begin{document}
\begin{frame}{Drawing the unit disc is a good way to introduce sine and cosine functions}
\begin{picture}(320,250)
\put(-80,20){\includegraphics[height=8cm]{sincos2.png}}
\put(180,180){\begin{minipage}[t]{0.4\linewidth}
{Choose a point on the unit circle. Connect it to the origin with a line of length one, and denote the angle between that line and the horizontal coordinate axis by $\theta$.}
\end{minipage}}
\end{picture}
\end{frame}
\begin{frame}{Now sine and cosine of angle $\theta$ can be found as the $x$ and $y$ coordinates of the chosen point at the unit circle}
\begin{picture}(320,250)
\put(-80,20){\includegraphics[height=8cm]{sincos3.png}}
\put(180,180){\begin{minipage}[t]{0.4\linewidth}
{Try drawing a similar figure with larger values of $\theta$. What happens to sine and cosine when you complete a full circle? Can you see from the figure which one of the functions $\sin$ and $\cos$ is odd and which one is even?}
\end{minipage}}
\end{picture}
\end{frame}
\end{document}
The resulting two slides look like this:
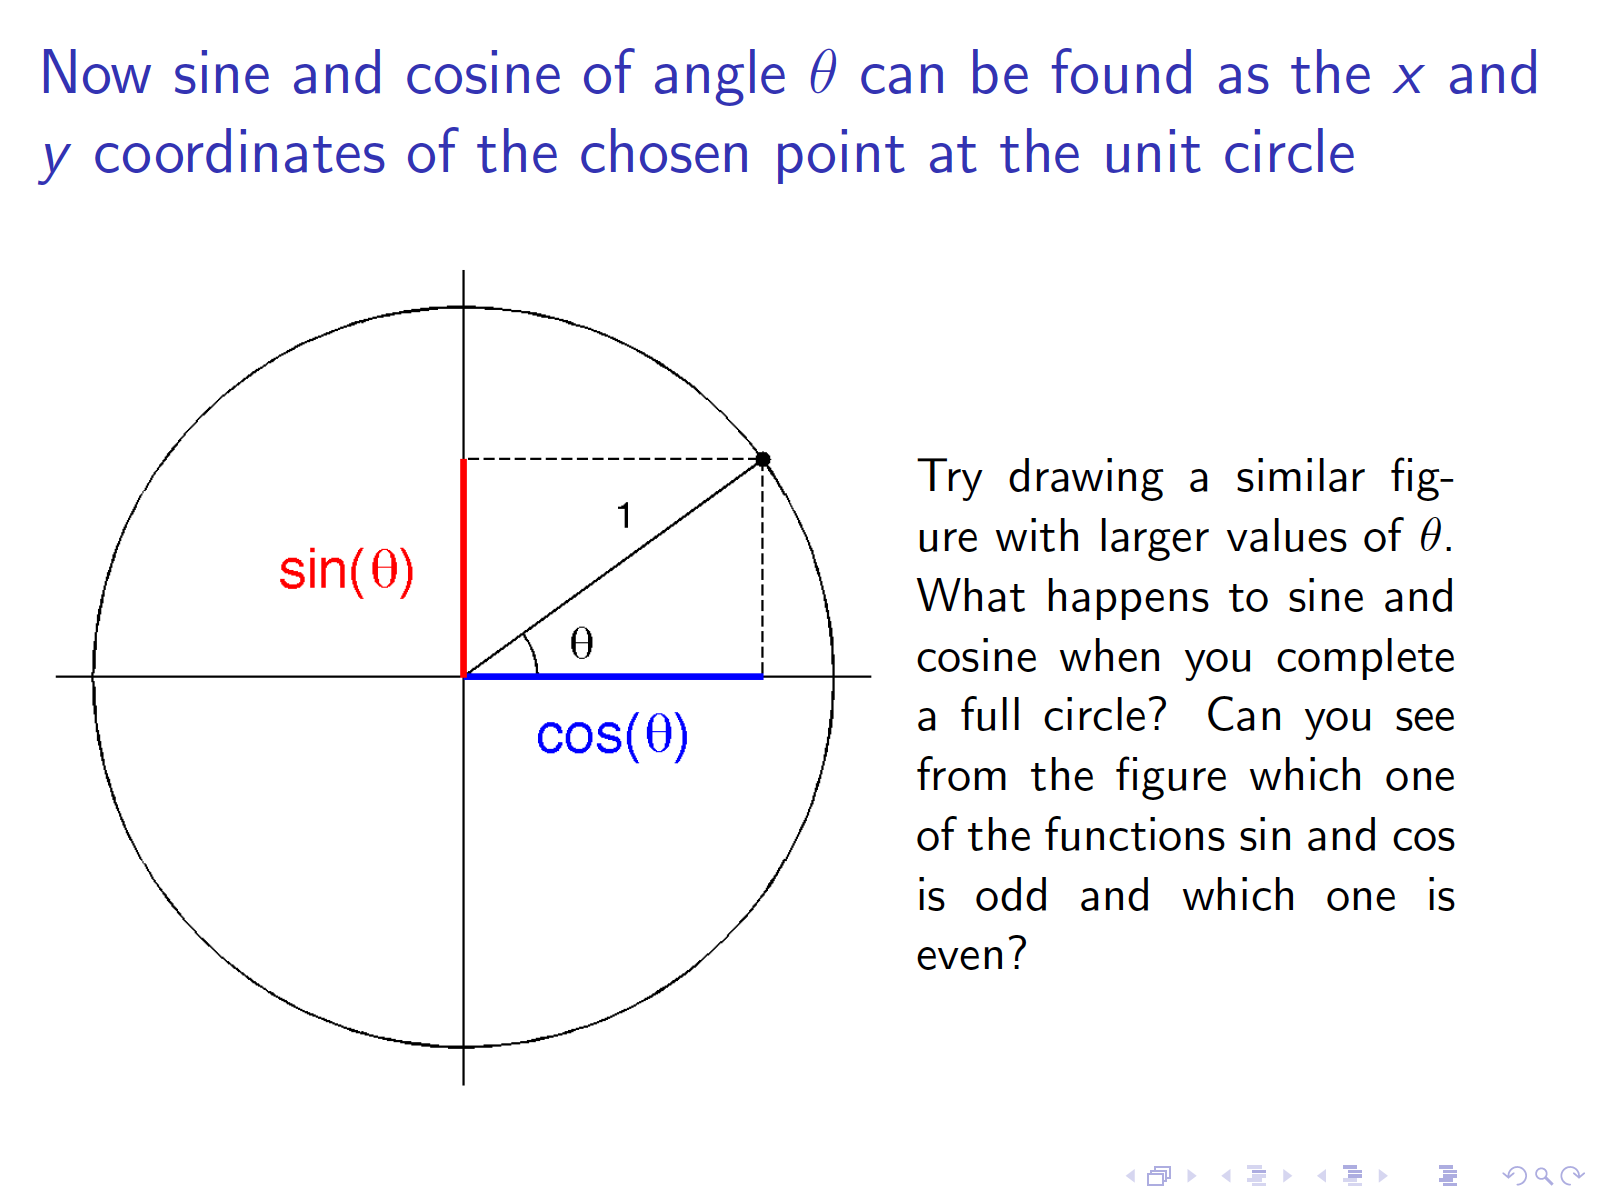
Note that there is no movement in the placement of the circle. The colored parts just appear on top of the previous image when the slide is changed.
In case you wonder why I didn’t use .eps files above, let me point out the following situation. As far as I know, in current LaTeX you need to choose one of the following option regarding image file types:
(1) All images in Encapsulated PostScript (.eps) format
(2) All images anything else than .eps.
Most presentations benefit from nice pictures that often come in other formats than .eps. It is easier to produce .png images from Matlab than to convert pixel images into .eps.
There is one remaining problem with the above approach. If the title of one page has more or less lines than another, the placement of the picture environment will change, and the overlapping of figures in consecutive slides will be lost. This can be overcome easily by adding an extra “ghost” line to a one-line title:
\begin{frame}{Too short title\\ \phantom{m}}
Superb tip! Thank you!
Thank you so much for this help. Being a Latex novice, this post of yours surely helped me.
Thanks Sam! Very useful. LaTeX/Beamer was driving me nuts.