
We’ve had ScanTent available for evaluation and experimentation for some time in the DH projects. We wanted to see a) what ScanTent could do (or facilitate) b) how it generally could work in helping digitization in different kinds of materials for/by researchers, c) what kind of mobile camera qualities would be sufficient and d) how the process beyond ScanTent would go onwards.
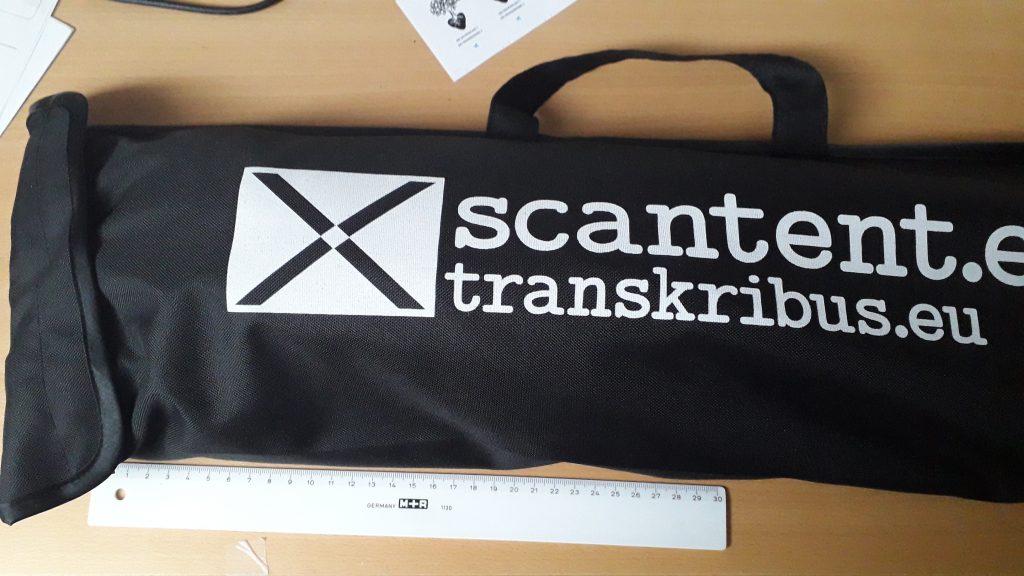
ScanTent in its pouch
Introduction – What is ScanTent?
Scantent is basically as name suggests, it is actually a tiny table-based ‘tent’ (small cloth-covered area) on top of which you can put a mobile phone or a light-weight camera to take pictures of the material within the tent.
Unboxing
As we got one of the early prototypes from the first manufacturing batch, the package contained: a pouch for ScanTent, ScanTent base fabric (black) and cover cloth (white), the support ‘sticks ‘and a battery for the led lights. So it is quite small and light-weight package, that you can easily carry with you.
Setup
There was no leaflet or setup document within the package, but the setup was quite self-evident (with some learning on-the-fly). Sticks go to the corners of the cloth to assembly it to the proper position and then to top part’s camera ‘plate’. Personally, I believe the setup is two-person job, as some hands are required to keep previous sticks in place, while assembling the rest, but anyhow it can be done in few minutes.
It can be done by one person, but caused some noise in the office when some sticks dropped while trying to fix the others to the top part. But after some practice it goes more and more conveniently every time.
After the tent is set up , one can plug in the led lights to the package-included external battery* and you can start the actual scanning. The led lights are quite light-weight, so be sure that all of them are downwards and not tilted upwards, which can easily happen after the assembly.
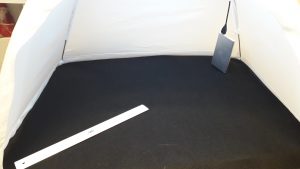
ScanTent assembled, battery pack within the tent(*)
Quick Experiments of Scanning Different Kinds of Materials
Ephemera and leaflets
Some items we tried with was the ephemera material, which were locally collected during the elections and were easily available. Some concerns in them were the glossiness i.e. there was easily reflections, and varying background colors and fonts.
Books
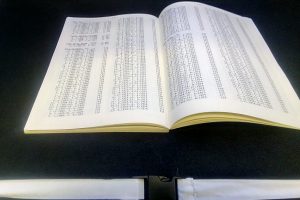
Second use case was for books. What if there is a exam coming, the study book is the only one in the library and the loan-time is running out, what do you do? Or shortly could one scan a book with help of ScanTent? This was interesting in a sense that gave an opportunity for experimenting “multishot” or illustration series which the DocScan provides. One thing noticed, that in any bigger book, or if there is a tight binding – the challenge was keeping the book open (there was no support for that). Second thing was also keeping an eye that the image taken stays straight while swapping pages. The mobile that you can put on top of the tent is on a flat surface, which has no ‘holds’ so it can very easily tilt or move a bit out of place.
Papers
One sheet papers were in a way the easiest case, just put a paper to within the ScanTent and take the image. But a normal scanner of any kind can do the same also. So depends on what you have available.
The support sticks are a quite thin, and would have to consider a bit, before putting an expensive system camera on top. There is no cradle for the camera, this version has only a flat surface and accidentally bumped even mobile phone off its intended location for couple of times. Luckily phone dropped only from top of the tent to the table….
After the image scan
In fact, the real magic happens at the phase after the scanning phase. You can utilize ScanTent purely as a ‘stand’ for a mobile phone and be well off. There are even apps already, which can take the image and do OCR on that on-the-fly.
In ScanTent the image to data phase was done with the DocScan application, that is available for Androids and Apple devices. You create an account to the Transkribus platform, login to that account via DocScan app, and then choose to send images for further processing to Transkribus server (to explain it shortly).

But more about that in the following post….
P.S. (*) When taking images for this post also realized that had done couple of error(s) in the 2nd assembly, but this is one of the things one learns after more usage. When assembling ScanTent for the first time, then had to utilize the ScanTent videos online, which gave hints how to do things correctly.