
Headers and footers consist of a text or image that is printed at the top or bottom of each page in a document automatically. They can consist of e.g. a logo and contact information. On this page, we will look at how to manage headers and footers in Word.
Creating headers or footers
To add headers or footers to your document, select an alternative from the Header & Footer group on the Insert tab. Then select a suitable header, footer or page number from the list.

When you have selected an alternative, the header and footer fields will appear in your document. They are separated from the main body of the document by dotted lines. The image below shows a document with the header field active.
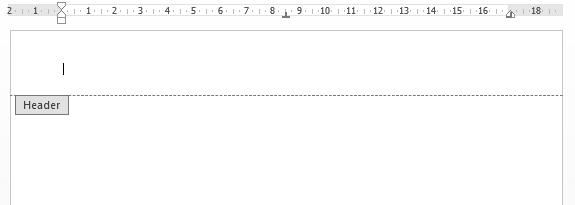
Enter the text or graphics for the header or footer into the field marked with the dotted line. To add dates or page number, use the buttons on the Header & Footer tab that appears in the ribbon menu. Go back to normal view by clicking on the Close Header and Footer button on the right side of the tab.
Modifying headers and footers
The headers and footers will show up in greyscale on each page. If you want to alter them, double-click the header or footer to open the view for modifying them. Make the alterations and leave the modifying view by double-clicking inside the document text.
Deleting headers and footers
To delete headers and footers, open the Headers and Footers window and select all the text in the header or footer. Then press Delete and leave the view by double-clicking inside the document text.
Click on the Header and Footer buttons in the Header & Footer toolbar for lists of ready headers and footers.