There are many ways to publish a video, and for most video assignments, there will be a defined return location for saving your video. It is often necessary to limit the visibility of course work videos to a specific audience, such as other course participants, your own small group or just the teacher. Being able to limit the visibility in this way is important first of all because creating a user account to a third-party service should not be required for completing course assignments, and secondly it is not good for the video to be published on a service where anyone in the world can view unless this is intentional and consensual.
This is why we will focus on publishing services supported by the University of Helsinki, which are suitable for handing in study-related videos.
Moodle – directly as a file or linking from elsewhere
The maximum size of files that can be uploaded/created directly in Moodle is 50 megabytes, making this method not directly suitable for any videos longer than a few minutes. In addition, uploading files to Moodle course areas is often restricted to teachers. However, very short videos of less than 50 megabytes can be added directly to a discussion area, for example, if the teacher has created one for a purpose such as handing in very small videos and possibly simultaneous discussion and peer feedback.
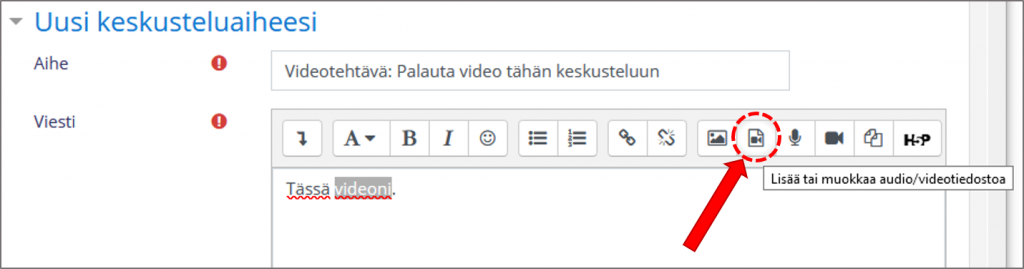
However, due to Moodle’s file restrictions, the usual practice is to upload the video to another service and then link for viewing in another location, such as Moodle.
Unitube Uploader
Instructions for use on the Helpdesk website.
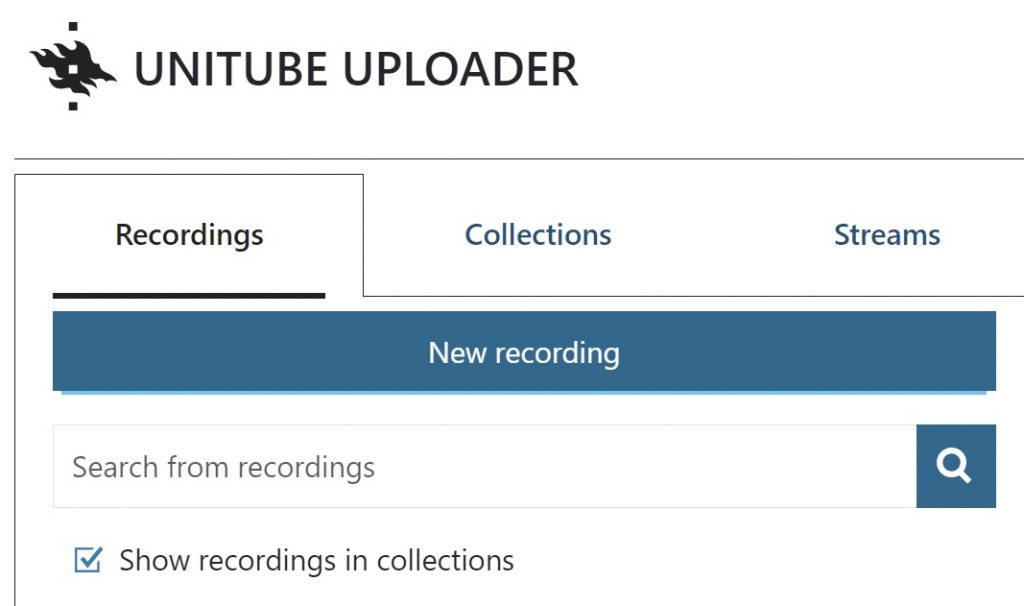
Unitube is the University of Helsinki’s own video service, which includes the Unitube Uploader, where every university student can upload even large video files and sort them into collections as they wish. These video collections can then either be maintained private or published for viewing in different ways. You can also grant permissions to a video collection for other university staff and students, allowing a colleague to add their own videos to the collection, for example.
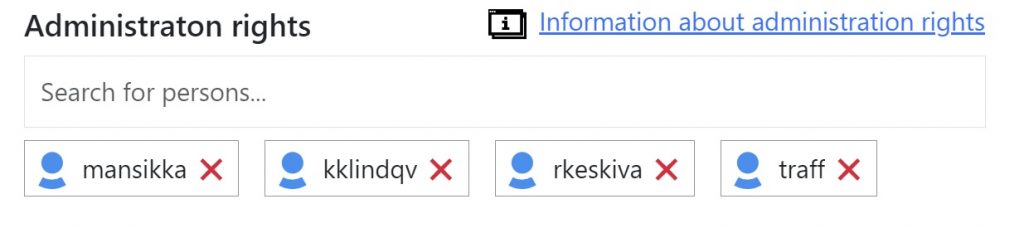
However, please note that if a collection has multiple administrators, they are all equally able to manage videos added to the collection. This means they can then remove your videos – or even you from the collection all together, even if you originally created it!
Currently, the publishing options are:
- Not published: all collections are created in this mode by default
- The recordings in the collection can be shared and embedded elsewhere using links: with this setting the video can be shared with a private link or embedded elsewhere using the links available in Unitube Uploader.
- The collection is public: meaning the videos in the collection are visible and can be found globally on the Unitube video site (the university’s publishing channel) and the videos can also be linked or embedded in various online services
- Not published + Added to a Moodle course: videos of the collection can only be viewed within a certain Moodle area.
The The recordings in the collection can be shared and embedded elsewhere using links -setting is generally the easiest way to publish videos while still maintaining some privacy as the videos aren’t published on the Unitube site or listed with search engines.
Thinglink
Thinglink is a service where you can upload photos and videos and link them together for a “tour”. You can also add a variety of content to your photos that viewers can access by clicking, such as info text or a video window that opens when you click on a specific spot in a 360-degree photo. In practice, you can use Thinglink to create an interactive visual presentation on any topic.
Thinglink offers creative possibilities for your video presentation especially if you have shot 360-degree video. Thinglink allows uploading of even large videos. In addition, the audience can be restricted either by allowing access only by University of Helsinki user accounts or making the video available only to people who have the direct link.
You can find the service at: thinglink.com.
Illustrated login instructions to Thinglink here (OneDrive link).
OneDrive
Everyone has access to OneDrive cloud storage as part of the Office 365 service. Video files can be uploaded there and access to them granted either via a link or directly to people. Cloud storage is a great way to send large files without clogging up anyone’s e-mail with a giant attachment.
When you add a video to OneDrive, the person who receives the link can also view the video directly on OneDrive using its built-in player. Please note, however, that they can always download the video to their own computer. Usually, the desired outcome is that the viewer can only watch the video via a streaming player, such as Unitube.
Funet Filesender
The teacher may also want the video directly as a file so that they can put it in the Unitube Uploader. In this case, you will need to use some service suitable for uploading large files, such as OneDrive or Funet Filesender to hand in the video.
Instructions for Funet Filesender available on the Helpdesk page here.
Other options
YouTube and Vimeo, the Internet giants of video publishing, also allow publishing free of charge. Many people may already be used to using these services. However, publishing on these platforms requires you to create an account to the service and accepting the terms of use. That may not be possible for everyone in all situations due to issues of publicity and privacy.
YouTube allows you to publish videos more privately as unlisted, meaning only people with the direct link will be able to watch the video, but it will not show up in YouTube search. In Vimeo this is a paid extra feature. Normally, study assignment will not require you to use such services, but outside the academic context these video publishing channels are by far the easiest way to publish videos, with even features like automatic subtitles.